During Lesson Two, students learned how to create a typical workflow to process an image by using Adobe Lightroom’s Develop Module and making global changes to the image, adjustments that affect the overall image. Additionally, students learned how to use the History and Snapshot modules. Today we are continuing to learn how Adobe Lightroom’s Develop Module is used to make creative edits to images to only affect limited areas of the image by making local adjustments.
Adobe Lightroom, like Adobe Photoshop, has tools to manipulate the image. Lesson Three covers how to use the Graduated Filter, Radial Filter, and Adjustment Brush tools. Unlike global adjustment sliders, the local sliders don’t affect the entire image but only certain areas. It’s through repetitive practice that students will start to master these tools. As students have started to notice using Lightroom is faster and easier than using Photoshop.
In today’s lesson, students are introduced to the following:
- Using the Graduated Filter to adjust skies and foregrounds.
- Accentuate parts of an image by creating custom vignettes using the Radial filter.
- Use the adjustment brush to lighten, darken, smooth and blur targeted areas.
- Remove distractions with the Spot Removal tool in both Heal and Clone modes.
- Covert a color image to B&W.
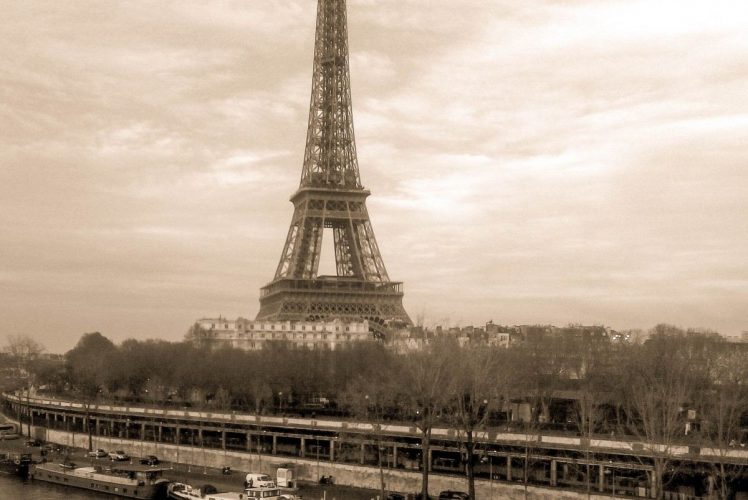
- Apply split-toning and retro effects.
- Tint a photo with color.
- Save metadata.
In today’s world of Instagram filters, students will eventually learn to create a photographic work of art and understand the process instead of just selecting a filter because it looks cool. By understanding the science, math and reasoning behind each adjustment students will start to develop a sense of understanding of the why, something is done to a photograph.
